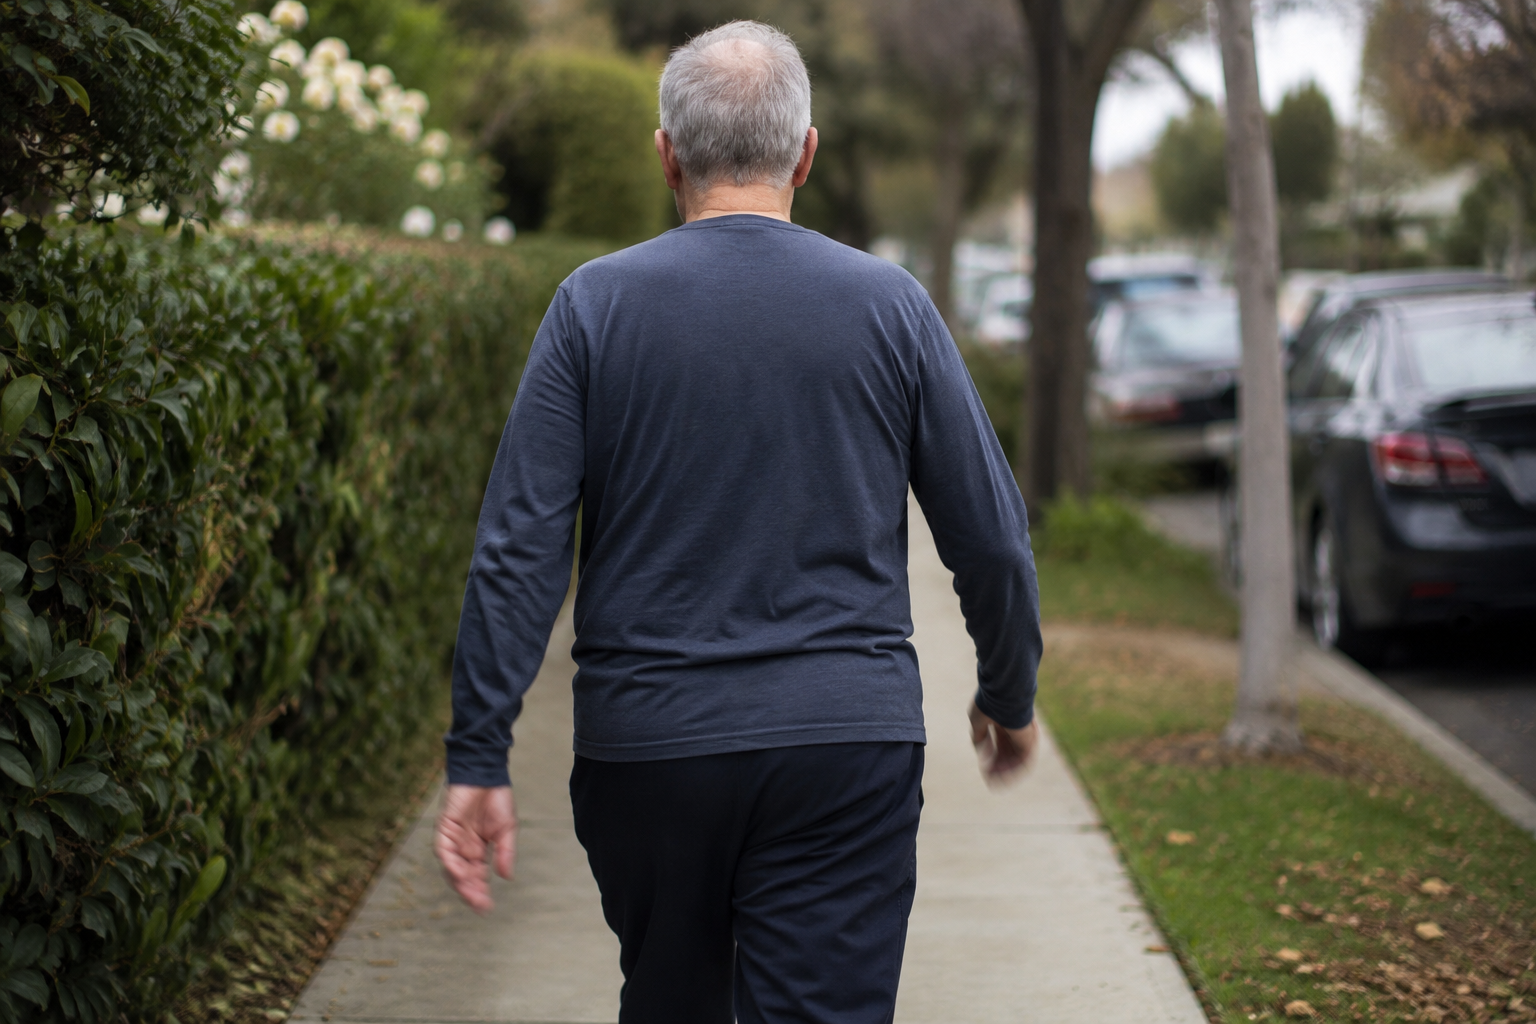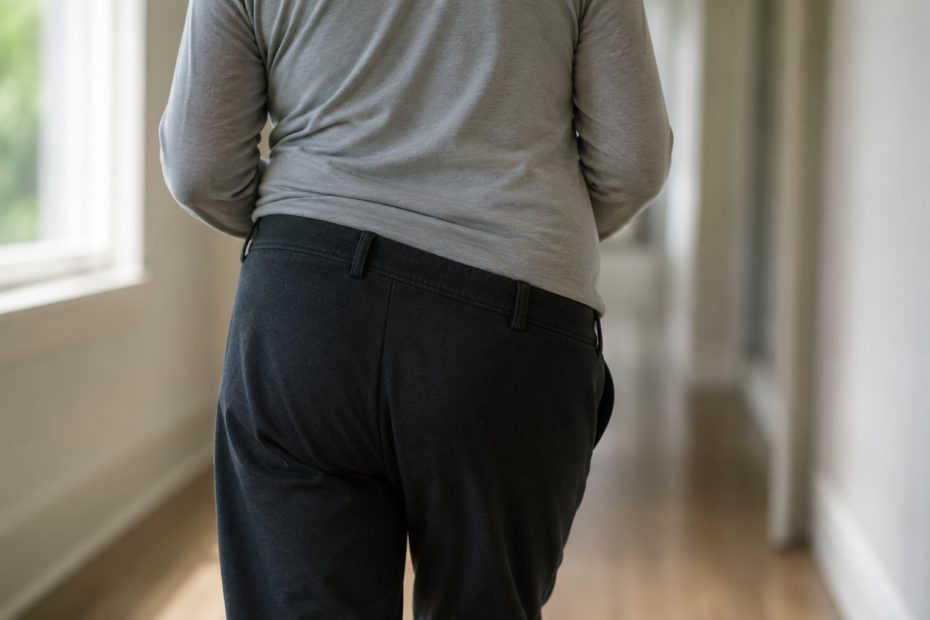
A limp that hurts makes sense.
Something is sore, so you spend less time on that leg, and you walk unevenly to protect it – cause and effect.
A limp that doesn’t hurt is more confusing — and in older adults it’s far more common than most people realize.
Nothing aches. Nothing feels injured. But your walking has changed, and either somebody mentioned it, or you caught yourself in a window, or you noticed your hips rocking side to side more than they used to.
Here’s the useful part: painlessness narrows things down considerably.
If it hurt, the list of suspects would be long — knee, hip, foot, back, and a dozen things in between.
When nothing hurts, you’re usually looking at weakness, stiffness, or a nerve.
And in seniors, weakness is both the most common of those three and the one that responds best to work you can do at home.
As a home health physical therapist, I see patients all the time that are limping without pain and just think it’s part of getting older.
Sometimes that’s not even the reason I’m coming out to see them – but I always ensure them that limping is not a normal part of aging.
Fortunately, for most seniors, the fix is strengthening a specific muscle on the side of your hip.
First, Make Sure This Is Your Problem
Not every painless limp comes from the hip. Find yourself in this table before you do a single exercise:
| What you notice | Likely cause | Is this article for you? |
|---|---|---|
| Hips rock side to side, feet wider apart than they used to be, worse when tired | Hip abductor weakness | Yes |
| One hip visibly dips with each step | Hip abductor weakness | Yes |
| Started after a hip replacement or hip fracture | Often abductor weakness | Yes — and talk to your surgeon or PT |
| Leg feels stiff and hard to bend, worse first thing in the morning | Joint stiffness or arthritis | No — see your doctor |
| Your toe catches, or your foot slaps the floor | Foot drop or poor clearance | No — different problem |
| One leg genuinely feels shorter than the other | Possible leg length difference | No — needs measuring by a PT |
| Numbness, tingling, or burning down one leg | Nerve | No — see your doctor first |
| Came on suddenly, over days | Needs a diagnosis, not exercises | No — see your doctor |
If your toe is the thing catching, you want the foot, not the hip. If your feet drag or scuff, start with foot clearance instead.
Everything below assumes you landed in one of the first three rows.
What Hip Drop Actually Is
Walking is not two legs moving together – it’s a series of brief one-legged stands, handed back and forth.
Roughly 40% of every walking cycle is spent balanced on a single leg while the other one swings through. That’s true for everyone, at every age, on every step.
The instant your other foot leaves the ground, gravity starts pulling that unsupported side of your pelvis down.
And the only thing stopping it is a group of muscles on the outside of the hip you’re standing on — mainly the gluteus medius.
And they have to work harder than you’d think.
Because of the way the hip is built, those muscles sit on a much shorter lever than your body weight does, which means they have to generate force well beyond your bodyweight just to hold your pelvis level (StatPearls on Trendelenburg gait).
Thousands of times a day. Both sides. Nobody trains for it.
When those muscles can’t keep up, one of two things happens.
The pelvis drops. Stand on the weak leg and the opposite side of your pelvis dips. Watch someone’s beltline from behind and you’ll see it tilt with each step.
Or the body leans instead. Rather than let the pelvis fall, you tip your upper body toward the weak side. That shifts your weight over the hip and reduces the load the muscles have to hold. The pelvis stays level, but your torso sways sideways with every step.
That second one is where the rolling, side-to-side walk comes from. Lean left, lean right, lean left. When it’s happening on both sides, that’s the walk people describe as waddling.
Which Side Is Actually Weak
This is the part almost every explanation gets muddled, so here it is plainly.
If your right hip drops, your left hip muscles are the weak ones.
Because at the moment your right hip drops, your left foot is the one on the floor. The left side is the side doing the work — and failing.
The shortcut: blame the leg on the ground.
Almost everyone gets this backwards on the first try, including plenty of people who should know better.
When you’re watching yourself in a mirror, look at which foot is planted, not which hip is falling.
Why Your Feet Drifted Further Apart
Widening your stance isn’t carelessness – it’s a smart solution to a real problem.
Standing with your feet further apart moves each foot further out from your body’s midline.
That reduces how hard those hip muscles have to work on each step, and it gives you a bigger area to keep your weight inside of.
So your body widens the base, without asking you. And then it charges you for it.
Your weight has further to travel. A wider stance means a longer sideways trip with every step, which takes more time and more control.
Narrow spaces stop working. Bathroom doorways. The gap between the bed and the wall. Between parked cars. Airplane aisles. A walk that only functions at width fails in exactly the places you can’t avoid.
The muscles keep getting weaker. Reducing the demand on a weak muscle is precisely how it stays weak. It’s the same self-feeding loop behind shortening steps.
There’s also evidence that consistency of foot placement matters, not just width.
One study found that step width variability at the extremes — unusually low or unusually high — was associated with a history of falls in older adults (Brach et al.).
Why This Matters More Than How It Looks
It would be easy to file a painless limp under cosmetic, but please don’t.
Older adults are especially vulnerable to falls that go sideways. And the sideways fall is the one that breaks hips — you land directly on the point of the hip, with nothing in the way.
The muscle group that catches you when you’re tipping sideways is the same one that’s already failing.
That’s the whole argument for doing something about this – not because of the limp, but because of the direction you’d fall.
There’s a second reason worth knowing.
Abductor weakness after a hip fracture is well documented, and it’s specifically linked to pelvic instability and this exact walking pattern.
Which means it can run in a circle: weak hips make a sideways fall more likely, and the fracture that follows makes the hips weaker still.
Interrupting that loop earlier is much easier than interrupting it later.
Plus, walking with a limp or waddling fashion can put unwanted pressure on your knees, back, or other body part and start causing pain in other areas.
As a physical therapist, I often see folks who are experiencing pain because of the way they’re walking – and correcting the limp is the key to fixing the pain.
Test Yourself at Home
Do these in front of a mirror with a counter or doorframe within reach.
The single-leg stance test
Stand facing a full-length mirror, fingertips resting lightly on a counter. Lift one foot so that knee comes up in front of you. Hold for 30 seconds.
Watch your pelvis, not your foot. Put your hands on your hip bones if that makes it easier to see. Does the hip on the lifted-leg side sag? Does your upper body lean toward the standing leg?
Either one is a positive result — and remember, the weakness is on the leg you’re standing on.
Then time it. Under 10 seconds of single-leg standing is a meaningful limitation. Compare left to right.
One honest caveat: this test is a useful screen, not a measurement.
Research comparing examiner judgement against motion analysis and actual measured strength found the agreement was poorer than you’d hope.
So treat a positive result as a reason to start training, not as a diagnosis.
The side-lying hold
Lie on your side, bottom knee bent, top leg straight and in line with your body. Lift the top leg about a foot and hold it there. Time how long until you have to put it down or the leg drifts forward.
Under 30 seconds is poor endurance — and for a muscle that works on every single step, endurance is what actually counts.
The line walk
Find a straight line on the floor — a floorboard, a grout line, a strip of tape. Walk about 30 feet placing each foot on the line.
If you can’t do it, or it feels genuinely precarious, your walking currently depends on a wide base. That’s the thing to change.
The step-down
Stand with one foot on a 6-inch step, the other hanging off the side. Slowly lower the hanging foot toward the floor, tap, and come back up.
Watch the pelvis in the mirror. If it drops or the standing knee caves inward, the muscles aren’t controlling the descent.
How to Fix It
Expect 6 to 12 weeks of consistent work before your walking looks different.
That’s not discouraging, it’s just accurate — and knowing it up front is what stops people quitting in week three when nothing has visibly changed.
Weeks 1–4: Wake the muscle up
You can’t strengthen something you can’t feel. This phase is about finding the muscle and building endurance, not adding load.
| Exercise | Dose | Cue |
|---|---|---|
| Side-lying leg raise | 3 × 12 each side, daily | Lead with the heel, toes turned slightly down. If you feel it in the front of your hip, it’s the wrong muscle |
| Clamshell | 3 × 15 each side, daily | Keep your pelvis stacked vertically — don’t let it roll backward |
| Wall press | 3 × 20 seconds each side | Stand side-on to a wall and press your inside knee into it. This works the standing leg |
| Supported single-leg stance | 3 × 20–30 seconds each side, daily | Fingertips only. Watch your pelvis in the mirror |
| Bridge | 3 × 12 | General hip support |
If you can’t feel the right muscle: the usual culprit is a smaller muscle at the front of the hip taking over. Let the leg drift slightly behind the line of your body and turn the hip out a few degrees so the heel leads. That usually finds it.
Weeks 5–8: Load it standing
These muscles do their real job in standing, so the training has to get upright.
| Exercise | Dose | Cue |
|---|---|---|
| Standing hip abduction, hand on counter | 3 × 12 each side | Torso stays upright — no leaning away from the working leg |
| Pelvic drops off a step | 3 × 10 each side | Stand on a step, let the free-side hip lower, then lift it using the standing hip. This is the direct antidote |
| Lateral band walks | 3 × 10 steps each way | Band above the knees, small steps, feet never together |
| Step-ups onto a 6-inch step | 3 × 10 each side | Watch that the knee doesn’t cave inward |
| Single-leg stance, no hands | 3 × 20 seconds each side | Only with a wall in reach |
Personally, I use standing hip abduction, lateral band walks, and step ups with patients all the time.
The hip strengthening effect is great, but with regards to the walks and step ups, you can get a great balance training effect as well.
Weeks 9–12: Make it useful
| Exercise | Dose | Cue |
|---|---|---|
| Side-stepping | 3 × 30 feet each direction | Controlled, not hurried |
| Lateral step-downs | 3 × 8 each side | Slow on the way down — count three seconds |
| One-sided carry | 30 feet × 4 each side | Carry a weight in one hand; the opposite hip works to keep you level |
| Tandem walking, heel to toe | 3 × 30 feet | Directly narrows your base |
For a full-body program built around this kind of progression, see Strong & Steady: Strength.
Safety rules
- Keep a hand or fingertips on support for every single-leg exercise until it’s genuinely easy.
- Sharp or pinching pain on the outside of the hip means stop. That pattern suggests tendon irritation, which needs a different approach.
- If you’ve had a hip replacement, check with your surgeon or PT before adding side-lying or crossing-over movements.
- Progress one thing at a time — reps, then hold time, then resistance, then less hand support. Never two at once.
Retraining the Walk Itself
Getting stronger changes what you’re capable of, but it doesn’t automatically change what you do.
This part is where the limp actually goes away, and it’s the step most home programs skip.
Start these around week five.
Narrow-base walking. Walk with your feet closer together than feels natural, 60 to 100 feet at a time, several times per session. Start alongside a wall.
Mirror walking. Walk toward a full-length mirror with one thought: keep the hips level. Seeing it beats being told about it.
Line walking. The test becomes the drill. Walk a floor line placing each foot on it.
Slow-motion walking. Walk deliberately slowly. Slowing down removes momentum, which forces the hip muscles to do work they’d otherwise coast through.
When to See Someone Instead
Get assessed rather than self-treating if:
- The limp appeared suddenly, over days
- You have numbness, tingling, or shooting pain down the leg
- There’s pain on the outside of the hip, especially lying on that side at night
- You’re within six months of hip surgery or a hip fracture
- Your walking changed after a fall or a back injury
- You are already falling
That last one matters most. If you’re falling, self-directed balance work isn’t the right first move — an in-person assessment is.
Final Thoughts
A limp that doesn’t hurt is easy to ignore, and that’s exactly the problem with it.
Nothing forces the issue. There’s no pain to drive you to the doctor, so it quietly becomes normal, and your feet drift a little further apart every year.
But the muscle behind it is the same one that catches you when you start tipping sideways — and sideways is the direction that breaks hips.
The good news is that this is ordinary muscle, and ordinary muscle responds to loading at any age.
Not quickly, but reliably.
So start with the single-leg stance test in front of a mirror this week, and write down what you see and the date.
Then work the first phase for four weeks and test again.
And rest assured that a non-painful limp is usually very treatable with exercise and patience.
Frequently Asked Questions
Which side is weak if my hip drops? The side you’re standing on. If your right hip drops while you’re on your left leg, the left hip is weak. Blame the leg on the ground.
Can this really improve at my age? Yes. Muscle responds to progressive loading throughout life, including well into your eighties. It’s slower than it was at forty, but the direction is the same. Twelve weeks of consistent work produces visible change in most people who actually finish it.
Why don’t I feel these exercises in the right place? Usually a smaller muscle at the front of the hip is doing the work instead. Let the leg drift slightly behind your body and rotate the hip outward a few degrees so the heel leads the lift.
Is a wider stance ever the right thing? On ice, wet leaves, or genuinely uneven ground — yes, deliberately and briefly. The problem is when it becomes your permanent default on a dry, flat, indoor floor, because that’s a base you can’t narrow when a doorway demands it.
Will strengthening alone fix the limp? Usually not by itself. Strength gives you the capacity; the walking drills are what turn it into a changed pattern. Skipping the retraining is the single most common reason people get stronger without walking any differently.
I had a hip replacement and I’ve limped ever since. Is that normal? It’s common, and abductor weakness is frequently why. It’s also not something to just accept — bring it up with your surgeon or a physical therapist, since the right approach depends on your specific surgery and how long ago it was.
This article is educational and is not a substitute for individual assessment. A new, sudden, or painful limp should be evaluated by a physician.