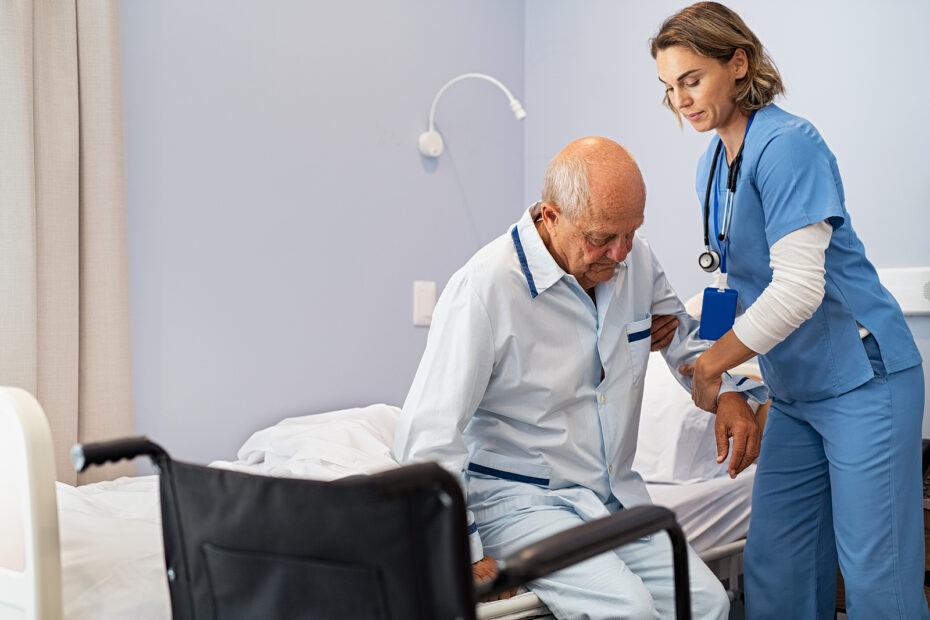
A transfer board can be a vital mobility aid for individuals with limited strength or mobility, offering a safer way to transition between surfaces (like chairs, beds and wheelchairs).
They’re commonly used by seniors, individuals recovering from injuries, or those with disabilities, helping to maintain independence while reducing caregiver strain.
It’s true, transfer boards can make transitioning from one surface to another more efficient – but the key to safe mobility is learning how to use them correctly.
This guide provides step-by-step instructions, safety tips, and advice for knowing when it’s time to start using a transfer board.
After reading, you’ll know everything you need to about using these mobility aids.
When’s It Time to Start Using a Transfer Board?
Recognizing when to begin using a transfer board (aka “slide board”) is essential for maintaining safety and mobility.
Here are some signs it might be time:
- Difficulty with Independent Transfers: If moving between surfaces like a bed and a wheelchair becomes challenging or unsafe.
- Increased Fall Risk: Frequent near-misses or falls during transfers indicate the need for additional support.
- Reduced Strength or Mobility: Limited upper or lower body strength can make independent transfers dangerous.
- Caregiver Strain: When manual lifting by a caregiver becomes difficult or leads to injury.
If any of these apply, you may benefit from using a transfer board, but generally speaking, you have to be able to sit upright in order to use a transfer board safely.
It’s also beneficial to have enough upper body strength to help assist with the sliding procedure.
That said, even if you don’t have enough upper body strength to transfer yourself, using a transfer board can still help reduce caregiver strain.
If you can’t sit upright without assistance or assist with the slide transfer, you may benefit more from a hoyer lift.
Benefits of Using a Transfer Board
The primary benefit of using a transfer board is that it reduces the strain on the individual and/or caregiver during a transition from one surface to another.
This can improve safety for folks with mobility issues, as well as improve independence.
Slide boards can also allow folks the ability to transfer to surfaces they might otherwise be unable to access.
In other words, transfers boards can offer:
- Enhanced Independence: Enables smoother, self-assisted transfers.
- Improved Safety: Reduces fall risks for users and physical strain for caregivers.
- Versatility: Useful for various transfer scenarios, including between chairs, beds, and vehicles.
Preparing for a Transfer
1. Select the Right Board
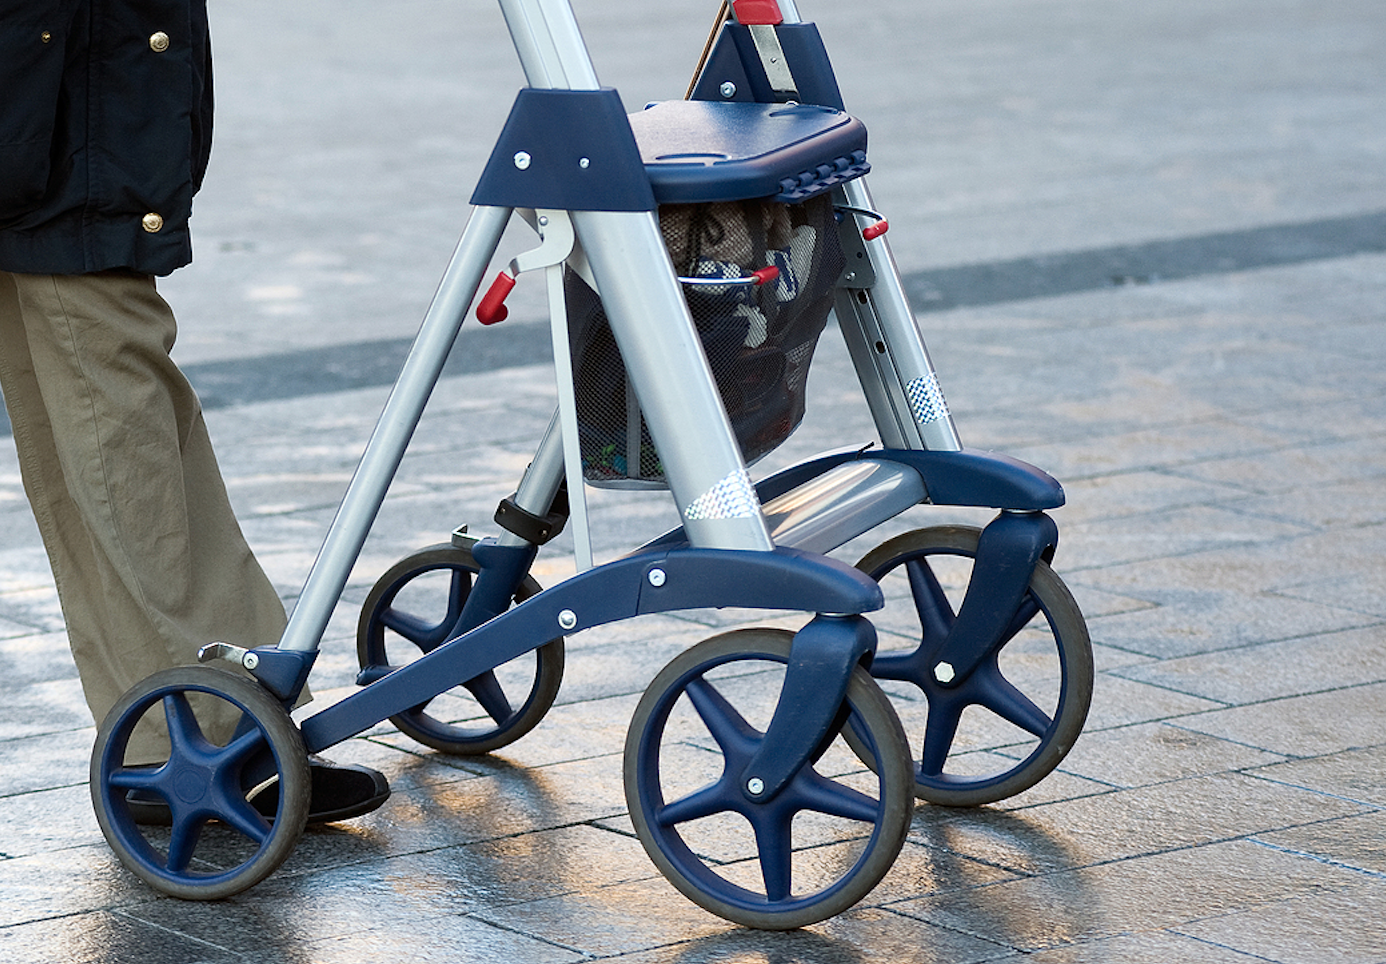
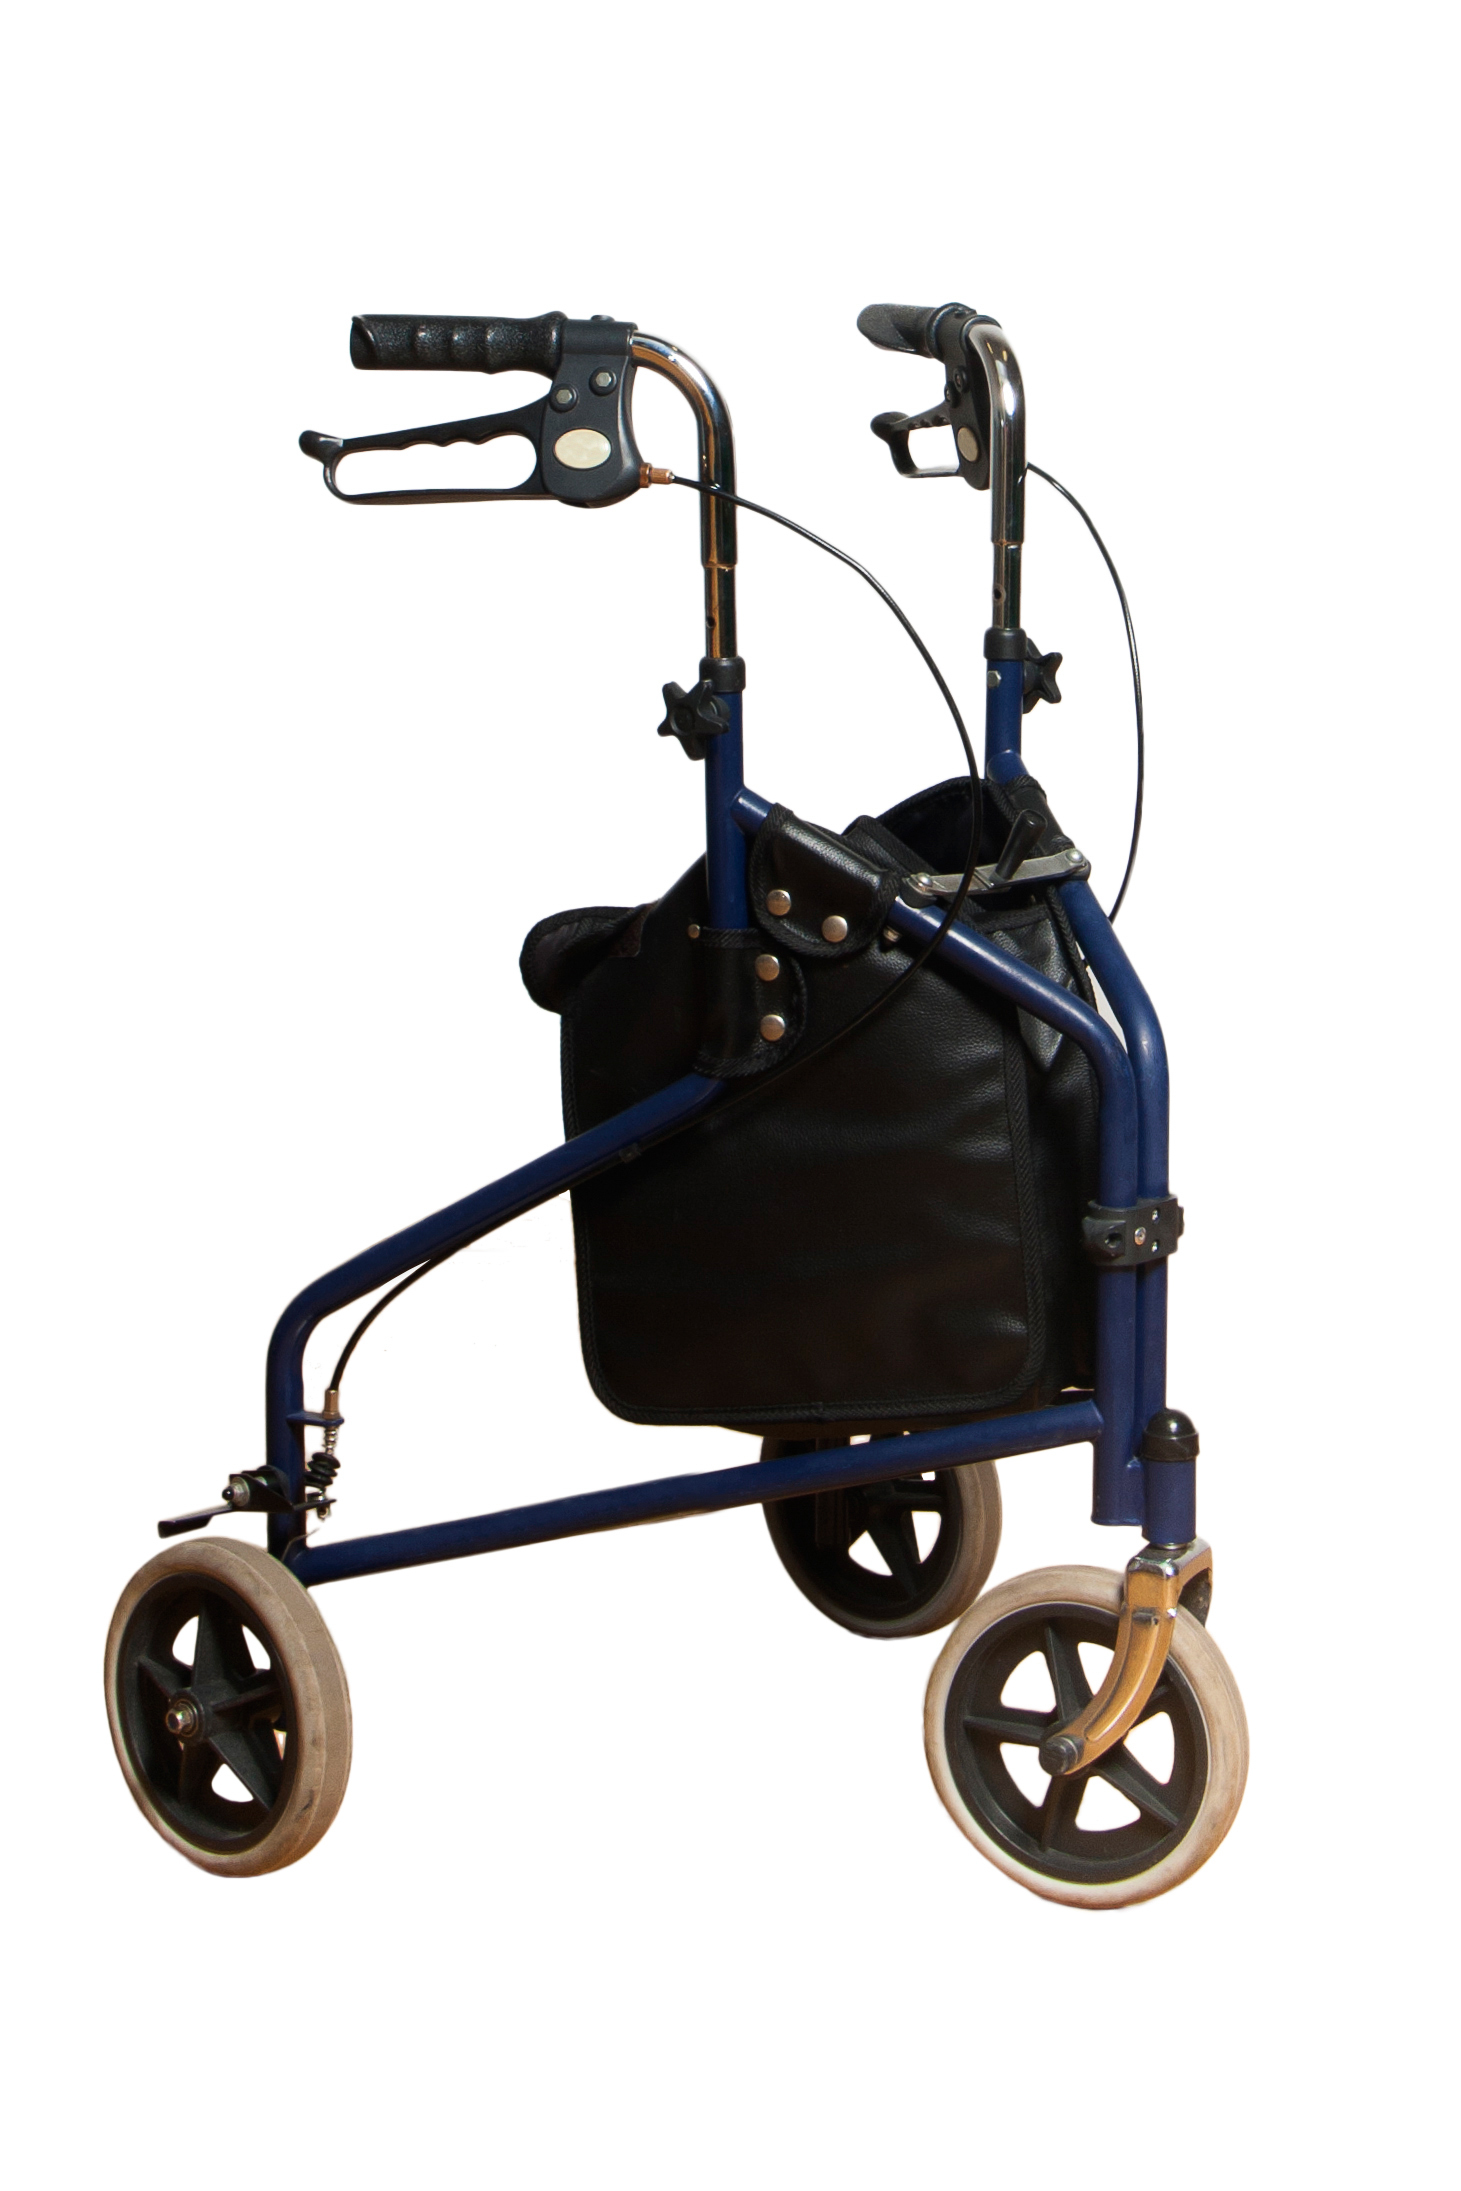
Slide boards come in various styles and are made of varying materials.
You’ll also see all kinds of different features, including handles, sliding mechanisms, and cutouts.
A lot of this depends on personal preference (I still prefer a classic wooden transfer board), but when choosing a slide board, consider the following:
- Ensure the board can support the user’s weight (most can handle 400 lb+)
- Look for a smooth, durable surface to avoid friction and injury
- Consider design features, including shape, straps, handles, etc.
2. Position the Surfaces
When preparing for a slide board transfer, positioning everything properly can make everything a lot easier.
When possible, it always helps to transfer downhill, as this allows gravity to help with the process.
This is usually possible when transferring to/from a hospital bed, but it may not be doable when transferring from other fixed-position surfaces.
Either way, consider the following:
- Align the transfer surfaces as closely as possible and adjust to similar heights.
- Ensure stability by engaging wheelchair brakes or stabilizing furniture.
- If transferring to/from a wheelchair, remove an arm rest and/or angle wheelchair to shorten transfer distance as much as possible.
Performing Chair-to-Chair Transfers with Transfer Board
Step 1: Position the Board
- Place one end of the transfer board under the thigh or hip of the individual.
- Align the other end securely on the seat of the target chair.
- If using a tapered board, the smooth, angled side should be facing up.
Step 2: Secure the Board
- Ensure the board is stable with no gaps between the surfaces to prevent slipping.
- Again, make sure wheelchair brakes and/or hospital bed wheels are locked, if applicable.
Step 3: Begin the Transfer
- The individual should lean slightly forward and use their hands to push and slide across the board.
- A caregiver can assist by stabilizing the user or gently guiding the hips along the board.
- Caregivers should use a wide stance and maintain proper posture while assisting to reduce chances of injury – the closer the caregiver is to the person transferring, the lower the risk of injury for both!
Step 4: Remove the Board
- Once the individual is securely seated in the new chair, carefully slide the board out.
Performing Bed-to-Chair Transfers with Transfer Board
Performing a transfer from a bed to a wheelchair/chair is essentially the same process, you may just have to adjust the position of the board a little.
Step 1: Prepare the Board and Surfaces
- Position the wheelchair at a slight angle near the bed, ensuring brakes are locked.
- Place one end of the transfer board under the individual’s thigh or buttock and the other on the wheelchair seat.
- Lifting/removing an arm rest makes for more room to slide over.
Step 2: Position the User
- Help the individual sit upright on the bed edge with feet flat on the floor if possible.
- Guide the user to lean slightly forward for balance.
Step 3: Facilitate the Slide
- The user should push off the bed with their hands and slide across the board into the wheelchair.
- A caregiver may provide gentle support to ensure a smooth transfer, guiding from the hips.
- Again, the caregiver should keep a wide stance and remain as close to the person transferring as possible to reduce chances of injury for both individuals.
Step 4: Complete the Transfer
- Remove the board once the individual is securely seated and ensure they are positioned comfortably.
Safety Tips
Take It Slow
Mastering transfer board transfers takes a bit of practice, so it’s important to take your time – when in doubt, slow down.
Slow movements reduce the risk of injury and reduce the chances of falls.
Use Proper Mechanics
Using a slide board can make the transition a lot easier, but that doesn’t mean the individual and caregiver assisting don’t have to still do some work.
The amount of effort necessary from the caregiver really depends on the mobility level and strength of the person transferring.
Folks with significant mobility and strength deficits may still require a lot of assistance to transfer with a slide board (some individuals will even require total assistance to transfer with a board).
This makes it important for caregivers to focus on their form to reduce injuring themselves.
Caregivers assisting with a slide transfer should:
- Stand as close as possible to the person throughout the transfer
- Stand with a wide base of support, knees slightly bent
- Lift with their legs, not their back, to prevent strain
Focusing on proper body mechanics throughout the transfer can significantly reduce the risk of injury for the caregiver and person transferring.
Communicate Clearly
Communication between everyone involved in the transfer is important, especially when everyone is still getting used to the process.
Ensure both user and caregiver understand the process before starting and make sure to check in with each during the transfer.
Use a Gait Belt
A gait belt is a safety belt therapists use all the time to help reduce fall risk.
It’s basically just a safety belt we place around an individuals waist, giving us something to hold on to while guarding during walking, transfers, or any other activity where there’s a chance of falls.
The idea being that if someone starts to lose their balance, we have a stable grasp on them allowing us to stabilize before the fall occurs.
Gait belts come in handy while practicing walking and balance exercises, but they are also helpful while assisting with a slide transfer.
Again, the belt really just gives the caregiver something to hold onto while helping the individual slide across the board.
Contraindications and Precautions
Transfer boards are low impact and safe for most folks to use, but there may be situations where it isn’t the preferred method.
These include:
Unhealed Injuries
Avoid using a transfer board if the user has wounds or pressure sores on contact points with the board, as this could lead to wounds getting worse.
Keep in mind, transfer boards are hard surfaces and repeated sliding over them can be tough on sensitive skin.
You also have to be careful with skin getting pinched underneath edges of the board.
Lack of Upper Body/Trunk Strength
Sliding across the board requires upper body and trunk strength to complete safely – so if this strength is lacking, it’s going to make the process more challenging.
Folks who don’t have the upper body/trunk strength necessary to complete a transfer on their own are going to require caregiver assistance.
Transfers may even require a caregiver’s full support if the user cannot assist at all, in which case a different transfer method may be preferable (Hoyer lift).
Severe Spasticity or Pain
Conditions causing sudden movements or significant discomfort may require alternative transfer methods as well.
Individuals dealing with neurological conditions that cause severe spasticity may have a hard time positioning on the board correctly.
The same goes for people experiencing severe pain.
In these situations, a Hoyer lift or other alternative transfer method will likely be preferred.
Final Thoughts
Transfer boards aren’t complicated, but they do require a little practice to get comfortable with.
Proper positioning of the board and chairs/surfaces is key to a successful transfer.
And of course, the stronger the person transferring is, the easier the transfer will be (and vice-versa).
Learning to use a transfer board safely can improve mobility and independence, but if I’m being honest, transfer boards can be cumbersome.
The board can often get in the way and be difficult to remove once the transfer is over, especially for folks transferring without the assistance of a caregiver.
I’ve also worked with a lot of patients that find the board uncomfortable to sit on.
Folks that have sufficient upper body/trunk strength often prefer to perform slide transfers directly from surface to surface without using a transfer board.
But for the people that can’t transfer without one, it can be a crucial mobility aide.
For best results, practice with a healthcare provider or physical therapist to ensure proper technique.
And if you have any questions of comments, feel free to leave ’em below as well.


I am unable to stand and walk. I use a wheelchair and a wood sliding board for transfers. Unless someone is visiting, I only wear my underwear, since it is difficult to get pants on and off while sitting on the wheelchair and needing to use the bathroom. If I get enough of the pants on the board, the slide is easy. But if there is too much skin on the board, I get stuck and cannot move. Would waxing the board help in this situation or not?
Yeah, I know exactly what you’re talking about – direct skin contact doesn’t always work well with transfer boards. And personally, I’m not a fan of waxing the transfer boards because sometimes they can get too slippery. If possible, I’d recommend trying to keep the underwear barrier with the transfers to make it easier (and reduce a little friction on your skin). Is it possible to switch to a different kind of underwear for additional cloth contact with board? If you’re using briefs, switching to boxer shorts may add additional cloth contact with board. If possible, you may want to consider reaching out to your primary care physician for a home health PT/OT consult for guidance and training. Hope that helps and thanks for reading!