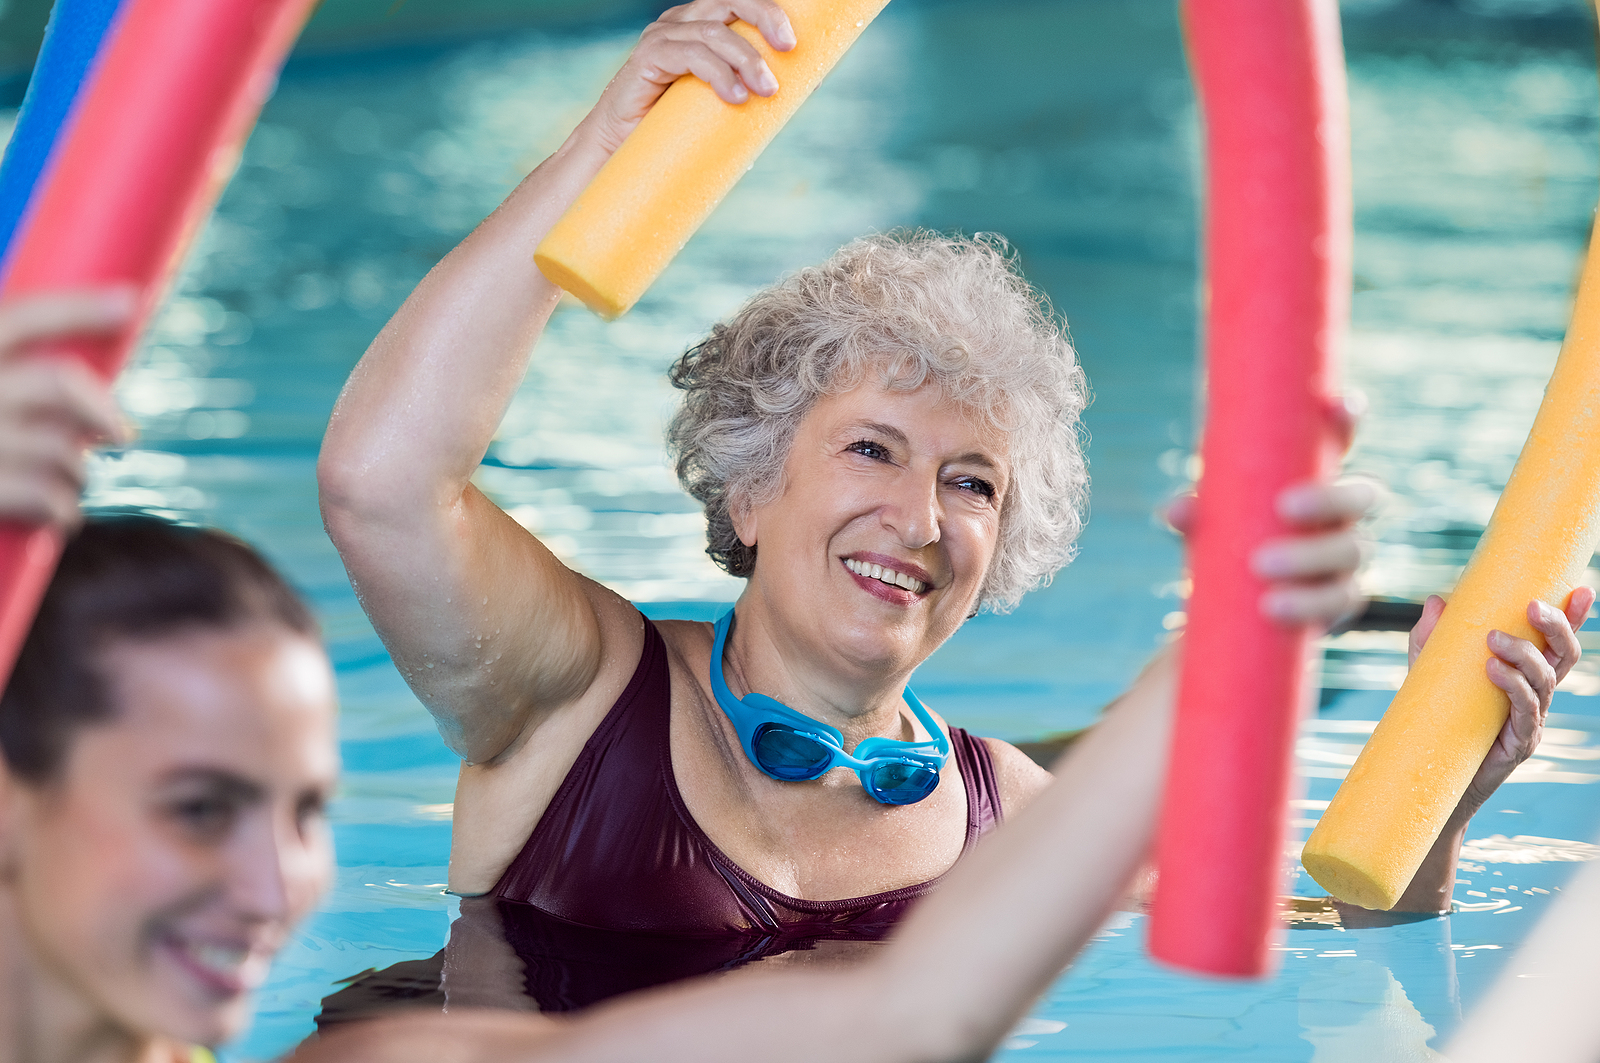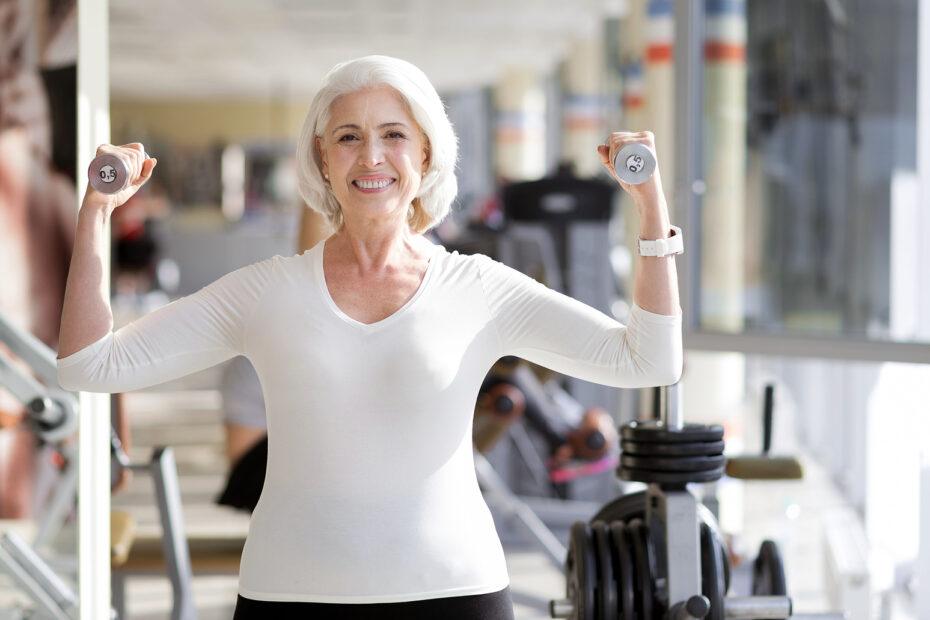
Maintaining arm strength is essential for seniors to preserve independence and enhance daily functionality.
This is because having strong arms make everyday tasks like carrying groceries, lifting objects, or pushing up from a chair much easier.
Performing arm exercises regularly can also improve circulation, promote joint health, and help prevent age-related muscle loss too.
All of which is good reason to add them to your routine.
In this guide, we’ll walk you through some of the best arm strengthening exercises tailored specifically for seniors.
After reading, you’ll be ready to add these exercises to your strength training routine.
Safety Tips for Seniors
First things first though.
Before diving head first into the exercises, keep these safety tips in mind:
- Warm Up Properly: Begin each session with light movements like arm circles or gentle stretches to prepare your muscles and joints, as this can help prevent unwanted injuries.
- Use the Right Equipment: Start with light weights, resistance bands, or even household items like water bottles. Choose equipment that feels comfortable to hold and maneuver.
- Maintain Proper Posture: Keep your back straight, shoulders relaxed, and core engaged to avoid unnecessary strain on other parts of the body.
- Focus on Controlled Movements: Perform exercises slowly and with control to ensure the correct muscles are engaged, minimizing the risk of injury.
- Breathe Steadily: Inhale during the easier part of the movement and exhale during the more challenging phase to help stabilize your body and avoid holding your breath.
- Listen to Your Body: Stop immediately if you feel pain, dizziness, or discomfort. Muscle fatigue is normal, but sharp pain is a signal to rest or modify the exercise.
- Hydrate and Rest: Drink water before and after your session, and give your muscles time to recover between workout days to prevent overexertion.
6 Best Arm Strengthening Exercises for Seniors
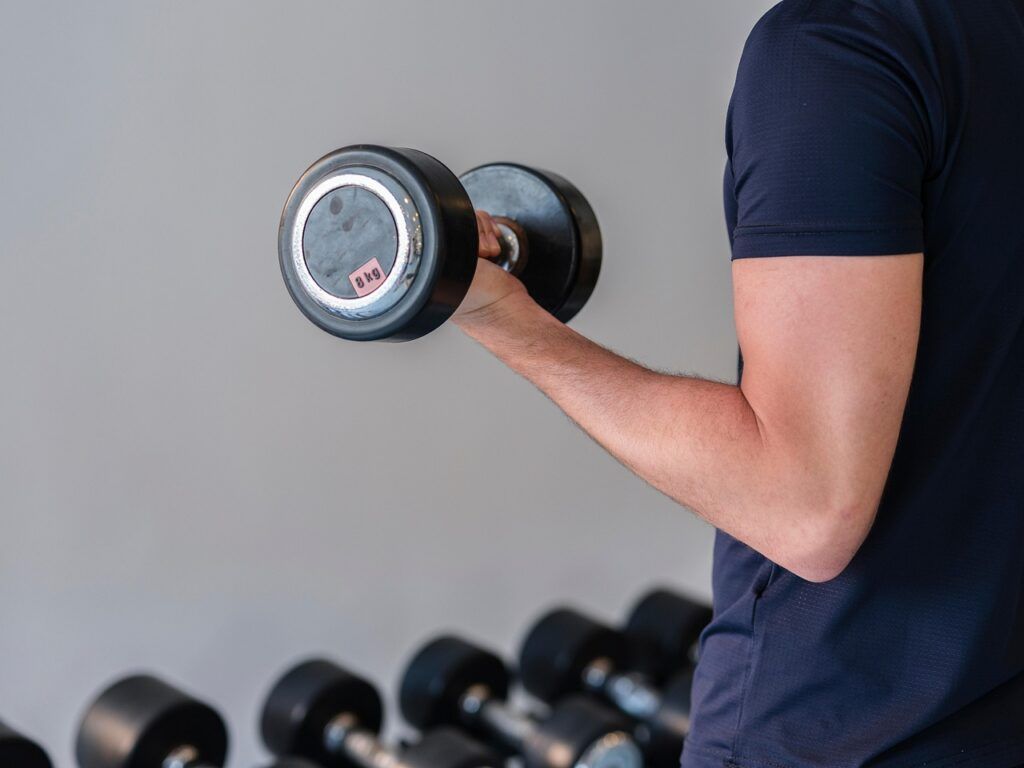
1. Bicep Curls
- Equipment: Light dumbbells or resistance bands.
- Instructions:
- Sit or stand with a dumbbell in each hand, palms facing forward.
- Slowly bend your elbows, bringing the weights toward your shoulders.
- Pause for a second and then lower the weights back to the starting position.
- Aim for 10-15 repetitions.
- Repeat for 2-3 sets.
If using a resistance band, you can tie small knots at each end to act as handles – stand (or sit) with your feet in the middle of the band to anchor as you pull against the band for your resistance.
2. Hammer Curls
- Equipment: Light dumbbells or resistance bands.
- Instructions:
- Sit or stand with a dumbbell in each hand, thumbs facing forward.
- Slowly bend your elbows, bringing the weights toward your shoulders.
- Pause for a second and then lower the weights back to the starting position.
- Aim for 10-15 repetitions.
- Repeat for 2-3 sets.
Hammer curls are identical to bicep curls except for the fact that your palms are rotated in so they face your body (thumbs facing forward).
This subtle difference changes the muscles being targeted – hammer curls also work your brachialis and brachioradialis, both of which are important muscles for overall arm strength.
Click here for a video demonstration of hammer curls.
Helpful tip- if you experience elbow pain with bicep curls, you may find hammer curls more comfortable.
3. Tricep Extensions
- Equipment: Light dumbbell (or can of soup/water bottle).
- Instructions:
- Hold a dumbbell with both hands, raising it above your head.
- Slowly lower the weight behind your head, bending your elbows.
- Extend your arms back to the starting position.
- Perform 10 – 15 repetitions.
- Repeat for 2-3 sets.
You can do this exercise with one arm at a time if you prefer, just make sure to keep your elbow as stationary as possible throughout the movement.
Here’s a video demonstration of how to perform this exercise correctly with dumbbells.
4. Tricep Press Down (with Resistance Band)
- Equipment: Resistance band
- Instructions:
- Anchor middle of resistance band to top of door (or other stable structure) – sides should be of equal length.
- Grab ends of band and press straight down toward floor, while keeping your elbows in tight by sides.
- Hold for a second and then return to starting position.
- Perform 10 – 15 repetitions.
- Repeat for 2-3 sets.
If overheard tricep extensions aren’t comfortable for your shoulders, the tricep press down is a great alternative.
Of course, you need a good resistance band set for this one, but fortunately, there are tons of affordable options to choose from.
And opting for a resistance band set with a door anchor makes this exercise a lot more convenient.
Here’s a video demonstration of this exercise (with a door anchor).
5. Shoulder Press
- Equipment: Light dumbbells (or soup cans/water bottles)
- Instructions:
- Sit or stand with a dumbbell in each hand at shoulder height, palms facing forward.
- Push the weights upward until your arms are fully extended.
- Slowly lower the weights back to shoulder height.
- Repeat for 2-3 sets of 10-15 repetitions.
This is a great exercise for the shoulders, but it also works the triceps pretty well too.
You can play with the angle of your shoulders to match your range of motion, but make sure you try to keep your shoulder blades back and low throughout the movement.
And remember, you shouldn’t feel any shoulder pain while doing this exercise!
6. Ball Squeezes
- Equipment: Stress ball, tennis ball, any other small squeezable ball (or gripper).
- Instructions:
- Hold ball in your hand.
- Squeeze firmly, hold for 3 seconds, and then relax.
- Repeat for 2-3 sets of 10-15 squeezes for each hand.
It’s easy to overlook grip strength when putting your workout together, but improving your grip can make a world of difference when it comes to activities like opening jars and getting dressed.
And grip strength can easily diminish as we get older.
This exercise is simple and it can really help improve/maintain hand strength.
And if you don’t have any tennis balls, you can always scrunch up a towel and squeeze that too (or if you want to get all fancy, you can purchase a gripper device).
Arm Anatomy 101
Having a general understanding of the muscle groups being worked is always helpful when it comes to deciding which exercises to include in your workouts.
Here’s a quick rundown on the major muscles groups that make up the “arms”:
- Biceps Brachii (Biceps): Located on the front of the upper arm, the biceps help with bending the elbow and rotating the forearm.
- Triceps Brachii (Triceps): Found on the back of the upper arm, the triceps are responsible for straightening the elbow.
- Deltoids (Shoulders): These muscles cover the shoulder and are crucial for lifting the arm and providing stability.
- Forearm Muscles: These smaller muscles control movements of the wrist, hand, and fingers.
- Rotator Cuff: A group of muscles and tendons that stabilize the shoulder joint, helping with arm rotation and lifting.
Understanding these muscles allows seniors to target each group effectively, ensuring balanced strength and reducing the risk of injury.
Personally, when I think of arm muscles, I think mostly of the biceps, triceps, and forearm muscles… meaning I consider the shoulders their own separate category.
But including shoulder strengthening exercises into an arm routine would still make a lot of sense.
How Often Should Seniors Do Strengthening Exercises?
For most seniors, aiming to perform arm strengthening exercises two to three times per week is ideal.
This frequency allows muscles to recover between sessions while promoting consistent strength gains.
Each workout should include 2 – 5 exercises (or more) targeting different arm muscles, with one to three sets of 8-15 repetitions per exercise.
Keep in mind, these guidelines are for healthy seniors trying to improve overall strength – folks who are rehabbing or recovering from an injury/surgery may benefit from different frequencies.
In these cases, refer to your doctor of physical therapist for personalized guidance.
Either way, it’s important to listen to your body – if muscles feel particularly sore or fatigued, take an extra rest day.
Consistency is key, and over time, seniors will notice improved strength, stability, and daily function.
Cool Down and Stretch
After completing the exercises, it’s a good idea to take a few minutes to cool down with some gentle arm stretches.
This can help reduce muscle soreness and maintain flexibility between workouts.
For example, try extending one arm across your chest and gently pulling it with the opposite hand for 15-20 seconds on each side (to stretch the back of your shoulder).
You may also want to stretch your forearms (wrist flexors/extensors), as they can get tight with arm workouts.
Final Thoughts
There are a ton of effective arm strengthening exercises to choose from, but I chose the handful or so mentioned above because they’re straight forward, safe, and don’t require much equipment.
As you may’ve noticed, there’s nothing too fancy above, just classic exercises that can be adapted to any fitness level.
Just remember to start slow and listen to your body – again, you shouldn’t feel pain while exercising!
And if you have any health concerns, always check with your family doctor before performing any exercises you aren’t sure about.
Anyway, I hope you found this guide helpful and if you have any questions/comments, just leave ’em below and I’ll get back to you shortly.